This post contains affiliate links. As an Amazon Associate I earn from qualifying purchases.
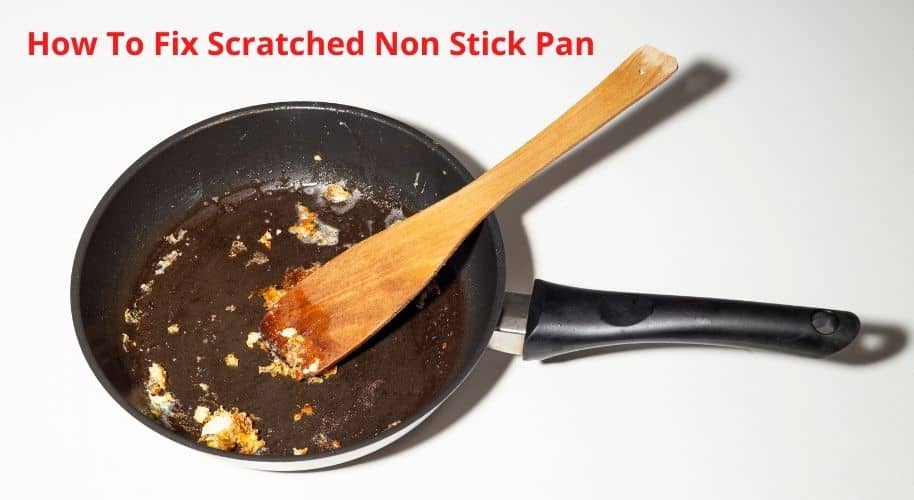
Do you have a scratched non-stick pan and you want to fix it? If so, then this blog post is for you.
Non-stick pans are one of the most popular styles of cookware in the United States. The only issue with them is that they scratch easily, especially if you’re cooking something acidic like tomatoes or lemons. This can cause food to adhere to your pots and pans, which can be quite annoying when it comes time to clean up after preparing supper. Here, we will learn how to fix a scratched non-stick pan!
How To Fix Scratched Non Stick Pan?
Clean the pan first:
The first thing you want to do when trying to fix a scratched non-stick pan is clean the pan. You should use a specific cleaning kit designed for this purpose that can be found at most supermarkets or online kitchen stores. If there’s no such product, then dish soap and water will work just as well!
Dry your pan:
Once you’ve finished scrubbing off all of those food particles with your new non-scratch scrubber, it’s important not to leave any wet spots on the pan. Make sure that you dry the surface completely before moving on to step two!
Apply coconut oil generously:
If the scratches in your cooking pot are deep enough, applying some coconut oil might help make them less noticeable so that you don’t have to replace the pan. Just make sure that it’s not too hot, or the oil will start frying instead of healing!
Heat up on medium-high heat:
Non-stick cookware is typically most effective when used at a medium-high temperature, so turn your stovetop burner up at a medium high and wait for the surface to get really warm before turning off the flame. This could take several minutes, but be patient – this step can make all the difference in how well your pans work after fixing them!
Let cool completely:
Once you’ve finished heating up your skillet, if there are no more scratches left, allow it to cool down prior to wiping it down with a kitchen towel completely.
Finish by wiping it down:
Once you’ve let your pan cool, give it one last wipe-down and make sure that the surface is cooled before using any more cooking utensils on it to prevent further scratching! But is it safe to use a scratched non stick pan? You may find out more by going to the link.
Also read: How to clean a non stick pan that is burnt
How to Fix Scratched Nonstick Cast Iron Pans
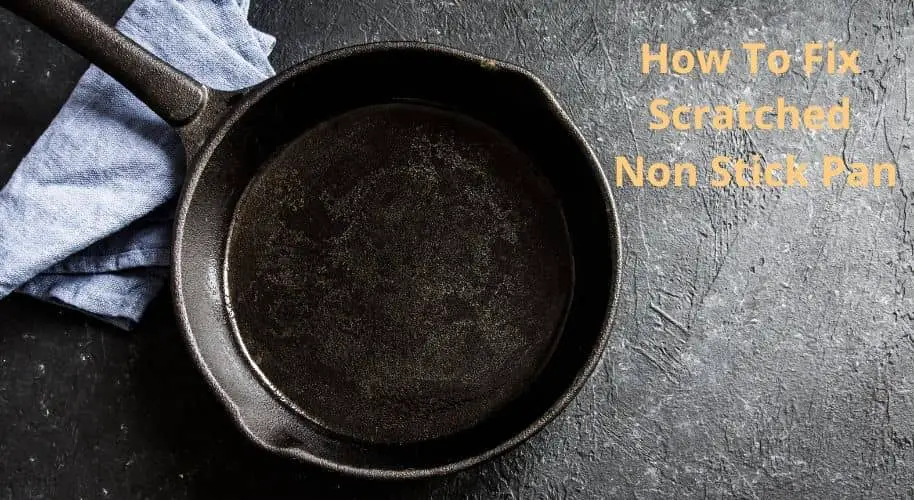
Cast iron pans are a great investment for any kitchen. In addition to being pretty durable, they also have the benefit of cooking food evenly and without tasting like metal. However, no pan is perfect, and even the best cast iron skillet can get scratched over time. Luckily fixing these scratches doesn’t take much effort at all! All you need to do is follow these simple steps:
Clean the pan with a cast iron cleaner:
First, clean the pan with a cast iron cleaner. It provides some of the best results available when cleaning your pans! The good thing about this is that you don’t need to scrub too hard at all, so if you’re worried about damaging the pan, then worry not!
Season with cast iron oil:
Next season with cast iron oil (you’ll need to apply a thin layer) will help protect against rusting and provide a moisture barrier from food sticking to them while cooking. This step helps prevent scratches as well because, without seasoning, the surface area of metal becomes rough enough that anything scratching on top would just get caught up there instead. Oil also has another benefit – it helps a lot with the seasoning process.
Bake skillet for around 45 minutes:
Preheat the oven to 500 degrees Fahrenheit and bake the skillet for around 45 minutes to get it nice and black on all surfaces. This step is important because if you don’t do this, your pan will look dull, which isn’t what we’re going for! It’s also a good idea to use an aluminum foil or silicone mat so that the cast iron edges can be placed onto something more stable while baking instead of risking burning them up against hot metal racks inside the oven. The heat from being baked helps create a “seasoned” coating, much like when you would cook food in it – only now there’s no risk of ruining anything else cooking at the same time!
Wash the pan with lukewarm water and a sponge:
Wash the pan with lukewarm water and a sponge to get all of the baked-on bits off. You can also use mild dish soap if you want, but I find it unnecessary for cast iron because they’re so durable! It’s best not to scrub too hard or to go any deeper than what needs cleaning – you may be able to see tiny cracks in certain spots from where your pans have been handled over time that will only grow bigger as you clean them more aggressively. If there are bumps or uneven surfaces on the pan, just smooth these out by applying a thin layer of oil after washing it (again).
Spray some oven cleaner:
If anything is left stuck onto your skillet, spray an oven cleaner like Easy-Off into the pan and let it soak for a few minutes. Scrub off any stuck bits with a scrubber or green pad (again, don’t go too deep into the cast iron) and then wash out all of the cleaners as well.
Season the pan:
Next up, season your pan by pouring some vegetable oil onto it and rubbing that in until you have an even layer on both sides of the skillet – just make sure not to use other oils like olive because they won’t withstand high heat! You can also toss in spices at this time if you want them to stick to your cookware over time instead of coming right back off again. The seasoning should be more than enough, so there’s no need for extra when cooking after this step is complete.
When Should You Throw Away Non Stick Pans?
Non-stick pans are great for cooking, but they don’t last forever. If you notice that your pan is getting old and the non-stick surface has started to wear down or the handle is no longer attached, it might be time to throw away your pan.
Also read: Best frying pan for high heat
The interesting thing about these types of pans is that there really isn’t a specific lifespan on them; if you cook with oil a lot, they will probably start wearing out sooner than someone who only cooks with water. Here, we’ll talk about when you should throw away your non-stick skillet!
-First of all, if you see the core of the pan is showing and it’s not just a flaw in the non-stick surface, then it might be time to throw away your pan. This means that some food has gotten down into the metal layer of this type of skillet, and over time it will start to break down on a molecular level.
-If you notice the handle has come unattached, then it might be time to throw away your pan. The handle is a key part of this type of skillet; if it’s missing, then there are no points where you can really get a firm grip on the pan and flip food around without risking injury or burns from the handle.
-If everything is sticking to the bottom of your pan even after you’ve tried seasoning it and fixing any dents or scratches, then it might be time to think about getting a new skillet! Non-stick pans are built so that food doesn’t get stuck on the surface when cooking, but if there’s something wrong with the surface, then it might be time to think about replacing your skillet.
The wrap up:
Thanks for reading the complete guide about how to fix a scratched non-stick pan. I hope you have found this article helpful and informative. The method described above will help you avoid the need to replace your scratched non-stick pans. It is a very cheap and effective solution for anyone who doesn’t want to spend money on new ones. For more tips, check out our blog for more content!
- How To Make A Pan Non Stick Again
- How to Tell if Non Stick Pan is Ruined
- How to Make a Ceramic Pan Non Stick Again: The Ultimate Guide
- How To Use Non Induction Cookware On Induction Cooktop

My name is Lori Walker. I’m a registered dietitian, food blogger and food enthusiast. I share easy healthy, delicious recipes on my blog and review necessary kitchen items. The recipes I share take less… Read more