Cheesecake factory mac and cheese balls must be a classic recipe that has been around for many years. It is an easy-to-make, delicious snack. This dish can be served as an entrée too. The core of the dish is made with white cheddar mac and cheese which gives it its unique flavor and texture.
This recipe is a great way to use up leftovers and it can also be made in bulk and frozen for later use. It’s an all-around crowd-pleaser that is sure to get your guests talking. However, it requires some time and effort to ensure that each cheese ball is full of flavor.
If you want to learn how to make it, I can help. In this article, I will be sharing the Cheesecake Factory mac and cheese balls recipe along with some helpful tips for making it.

What Are Cheesecake factory mac and Cheese Balls?
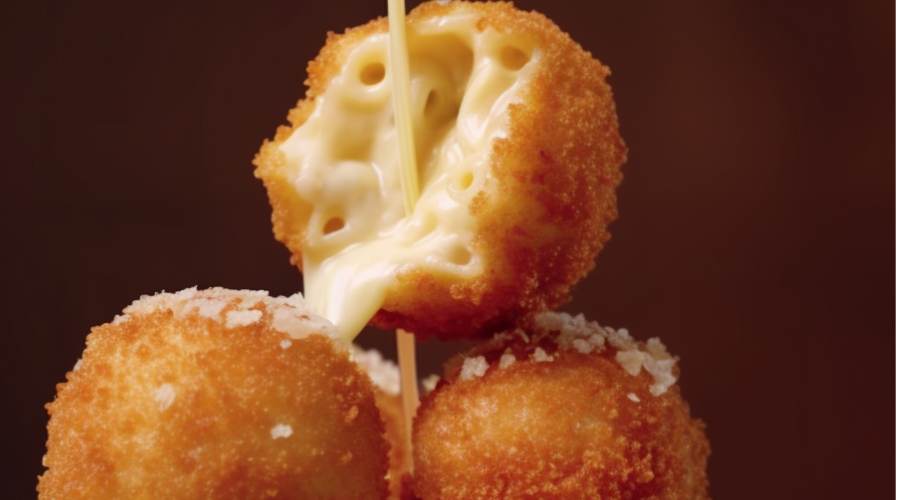
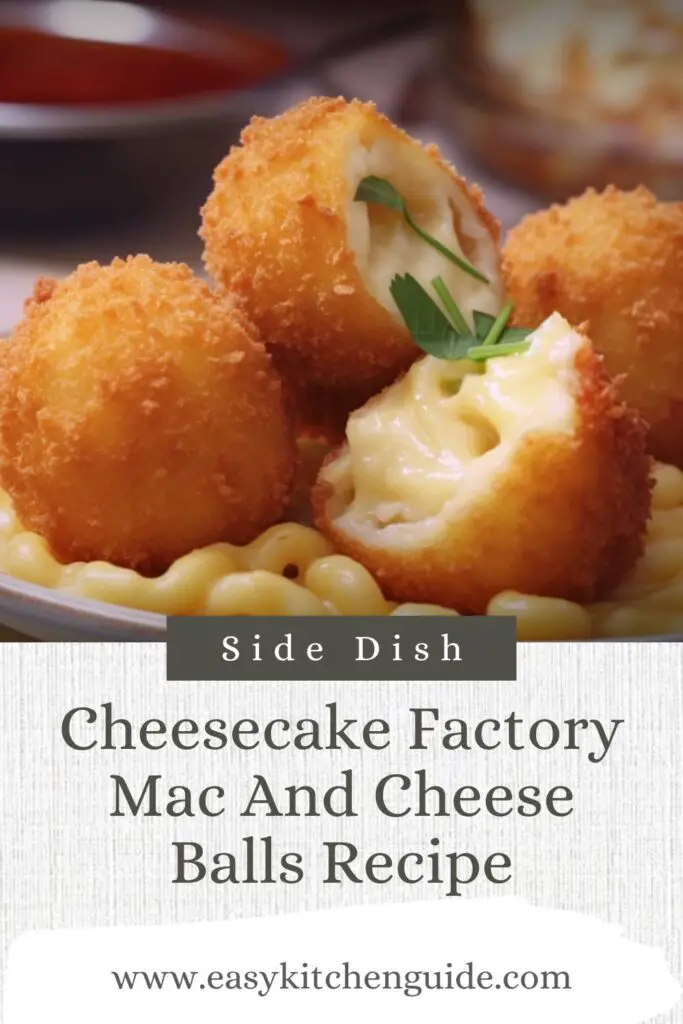
Cheesecake factory mac and cheese balls are crispy, golden-brown fried balls of white cheddar macaroni and cheese. They are usually served as an appetizer or snack. The unique texture and flavor of these cheese balls make them an enjoyable dish for all ages.
Generally, the cheese balls are made with a base of white cheddar macaroni and cheese, then coated in a batter (consisting of flour, egg, and panko breadcrumbs) before being deep-fried.
Where Did I First Try Cheesecake factory mac and cheese balls?
I first tried Cheesecake Factory mac and cheese balls on a trip to Las Vegas where I visited one of their chain shops. I had heard about this dish being served as an appetizer at the chain restaurant, and I was intrigued. So when we stopped by for dinner one night, I got the chance to try it out.
The cheesy, crispy balls were unlike anything I had ever tasted before. They were incredibly flavorful and satisfying. The texture was perfect – crispy on the outside and creamy, cheesy on the inside.
The dish is super easy to make at home, so I decided to try my hand at recreating it. After doing a bit of research, I finally put together my version of Cheesecake Factory mac and cheese balls.
You will get the taste of the white cheddar macaroni and cheese, all-purpose flour, eggs, panko breadcrumbs, and shredded Parmesan cheese, all in one bite.
You can also checkout the following appetizer Recipe :
- Beef Rib Recipe
- Applebee’s Beer Cheese Dip Copycat Recipe
- Buffalo Wild Wings Mango Habanero Scoville Recipe

Ingredients
White Cheddar Mac and Cheese: 1/2 of a pack of white cheddar mac and cheese will be needed for this recipe.
All-Purpose Flour: 1/2 cup of all-purpose flour is required to make the batter for the cheese balls.
Eggs: 2 large eggs with a little water added are needed to bind the ingredients together.
Panko Breadcrumbs: 1 cup of panko breadcrumbs gives the cheese balls a nice crunch.
Salt & Pepper: Salt and pepper to taste will add some flavor to the dish.
Shredded Parmesan Cheese: Shredded Parmesan cheese is used as a garnish for these cheese balls, but it’s optional.
Oil for Frying: Oil is used to deep fry the cheese balls.
Italian Flat Leaf Parsley Sprig for Garnish: A parsley sprig can be used as a garnish for the finished product.
Cooking Directions
Step 1
Prepare the White Cheddar Mac and Cheese according to the recipe. Once cooked, let it cool in the refrigerator for at least one hour.
Step 2
Form into small balls, about 1” in diameter, using a tablespoon of mac and cheese mixture for each ball. Place on parchment paper-lined baking sheet.
Step 3
Heat oil in a deep saucepan over medium heat to 350-375°F degrees.
Step 4
Place the flour and salt in a separate shallow bowl. Then, place eggs, panko breadcrumbs, and pepper into separate shallow bowls.
Step 5
Dip mac and cheese balls into the flour first, then the egg mixture, and then, the breadcrumbs. Press lightly to make sure they are evenly coated. After that, sprinkle a pinch pepper into the balls.
Step 6
Fry in batches of 8-10 balls for 2-3 minutes or until golden brown. Remove from oil with a slotted spoon and place on paper towels to absorb any excess oil.
Cooking Tips
• Make sure to fry the balls in batches of 8-10 to avoid overcrowding the pan.
• Once cooled, these cheese balls can be stored in an airtight container for up to 1 week.
• To add more flavor, try adding a pinch of garlic powder or onion powder to the flour mixture before coating the mac and cheese balls.
• If you’re not a fan of white cheddar mac and cheese, try using any type of mac and cheese instead.
What Ingredients Can I Replace or Substitute While Making It?
• If you don’t have all-purpose flour, you can substitute it with almond flour or coconut flour.
• Panko breadcrumbs can also be replaced with crushed crackers, cornflakes, or even oats.
• Egg whites can be used instead of the whole egg.
• You can use any type of cheese for the coating, such as grated Parmesan, cheddar, or even mozzarella.
• If you’re looking for a vegan option, you can replace the eggs with a flaxseed meal mixed with water.

Cheesecake Factory Mac And Cheese Balls Recipe
Equipment
- 1 Large Stock Pot
- 1 8" square baking dish
- 1 cooking spray
Ingredients
- 1/2 of a pack of White Cheddar Mac and Cheese
- Italian Flat Leaf Parsley Sprig for garnish
- Oil for frying
- 1/2 c All Purpose Flour
- 2 large Eggs with a little water added
- 1 c Panko Breadcrumbs
- Salt to taste, and add to the egg mixture
- Pepper to taste, and add to the egg mixture
- Shredded Parmesan
Instructions
- Prepare the White Cheddar Mac and Cheese according to the recipe. Once cooked, let it cool in the refrigerator for at least one hour.
- Form into small balls, about 1” in diameter, using a tablespoon of mac and cheese mixture for each ball. Place on parchment paper-lined baking sheet.
- Heat oil in a deep saucepan over medium heat to 350-375°F degrees.
- Place the flour and salt in a separate shallow bowl. Then, place eggs, panko breadcrumbs, and pepper into separate shallow bowls.
- Dip mac and cheese balls into the flour first, then the egg mixture, and then, the breadcrumbs. Press lightly to make sure they are evenly coated. After that, sprinkle a pinch pepper into the balls.
- Fry in batches of 8-10 balls for 2-3 minutes or until golden brown. Remove from oil with a slotted spoon and place on paper towels to absorb any excess oil.
Notes
- Make sure to fry the balls in batches of 8-10 to avoid overcrowding the pan.
- Once cooled, these cheese balls can be stored in an airtight container for up to 1 week.
- To add more flavor, try adding a pinch of garlic powder or onion powder to the flour mixture before coating the mac and cheese balls.
- If you’re not a fan of white cheddar mac and cheese, try using any type of mac and cheese instead.
Nutrition Information
One serving of Cheesecake Factory Mac and Cheese Balls contains approximately 350 calories, 18 grams of fat, 36 grams of carbohydrates, and 12 grams of protein. It is a great source of calcium and Vitamin A. It is also a good source of fiber and iron.
How to Store Leftover Cheesecake factory mac and cheese balls?
You can store leftover Cheesecake Factory Mac and Cheese Balls in an airtight container in the refrigerator for up to 5 days. To reheat, simply place the balls on a baking sheet lined with parchment paper and bake at 350°F for 8-10 minutes or until heated through. Alternatively, you can microwave them for 1-2 minutes.
FAQs
Can pregnant women eat this?
Yes, pregnant women can eat this food since it does not contain any high-risk ingredients. However, to be safe, it is best to consult with a doctor before eating any type of food during pregnancy.
Can I freeze these cheese balls?
Yes, you can freeze the cheese balls for up to 3 months. You can also store them in the refrigerator for up to 5 days.
Do I have to fry these cheese balls?
No, you do not have to fry these cheese balls. You can bake them instead at 350°F for 10-12 minutes or until golden brown. Additionally, you can cook them in an air-fryer for 10-12 minutes at 400°F. You can also pan-fry them in a skillet with some oil over medium heat for 4-5 minutes, or until golden brown.
Sharing Is Caring!
You Might Also Like These Recipes!
My name is Lori Walker. I’m a registered dietitian, food blogger and food enthusiast. I share easy healthy, delicious recipes on my blog and review necessary kitchen items. The recipes I share take less… Read more
