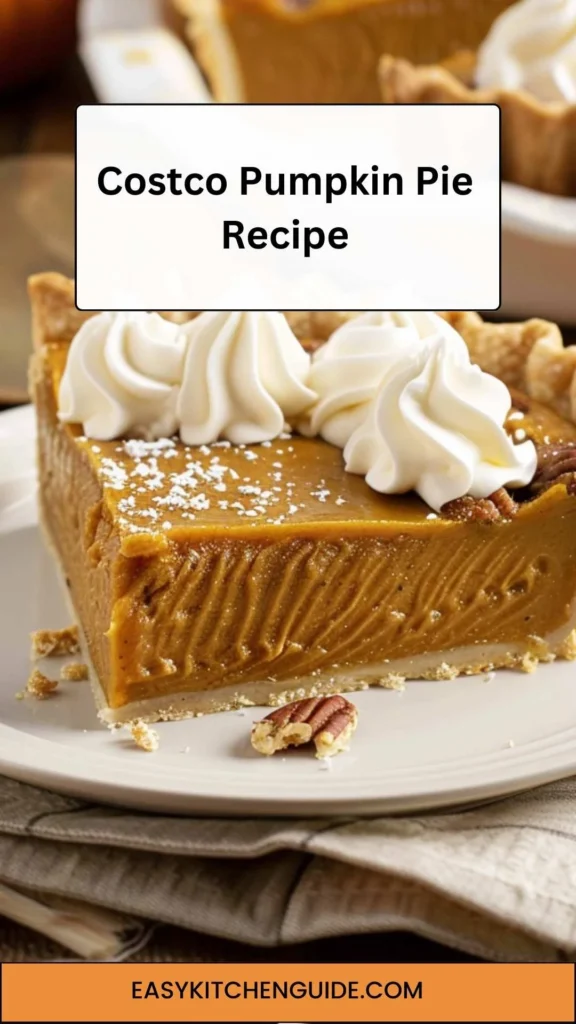
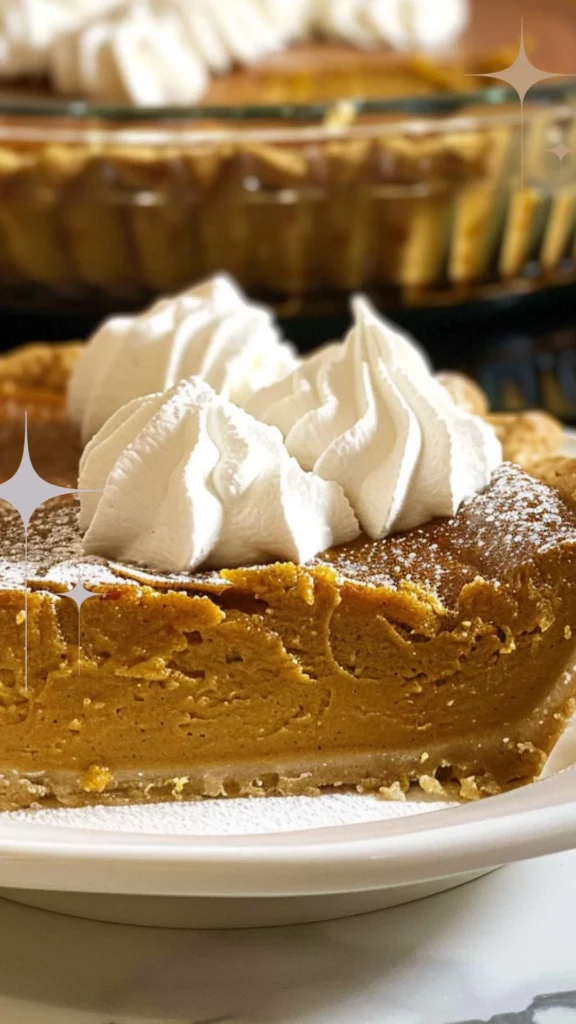
Are you someone who loves the cozy autumn vibes, the aroma of warm spices filling the air, and the indulgence of a delicious dessert? If so, then the Costco Pumpkin Pie is an absolute must-try for you!
The rich pumpkin filling combined with a perfectly flaky crust makes every bite a true delight. As an avid baker and a lover of all things pumpkin, I have experimented with various recipes over the years, but the Costco Pumpkin Pie holds a special place in my heart.
Let me take you on a journey through this delightful recipe and share with you how you can recreate this seasonal favorite in your own kitchen.

Ingredients:
- The reason why I use a store-bought crust for my Costco pumpkin pie recipe is because it saves me time and effort without compromising on taste. With a busy schedule, I appreciate the convenience of having a pre-made crust readily available. Plus, many store-bought crusts are of high quality and taste delicious, providing a sturdy base for the pie.
- As for the filling, each ingredient plays a crucial role in creating that perfect, indulgent pumpkin pie flavor. The pumpkin puree forms the foundation, offering a rich, earthy taste that embodies the essence of autumn. Combined with the creamy texture of whole milk and heavy cream, as well as the richness of egg yolks, the filling becomes luxuriously smooth and decadent.
- The spices – ginger, nutmeg, cinnamon, pumpkin spice, and cloves – add layers of warmth and complexity to the pie, enhancing the pumpkin’s natural sweetness with their aromatic flavors. A touch of salt balances the sweetness, while a hint of black pepper adds a subtle kick that keeps every bite interesting.
- To tie everything together, sugar sweetens the filling, ensuring that every forkful is a delightful treat for the taste buds. Finally, vanilla extract lends a fragrant note that complements the spices and pumpkin beautifully, rounding out the flavors for a truly irresistible dessert.
- In essence, each ingredient in the Costco pumpkin pie recipe serves a specific purpose, working together harmoniously to create a dessert that’s not only easy to make but also bursting with flavor and comfort. Whether it’s for a holiday gathering or a cozy night in, this pie is sure to satisfy cravings and evoke memories of crisp fall days.
You’ll also like the following Dinner recipes!
Creating the Perfect Costco Pumpkin Pie:
Step 1
Prepare the Pie Crust:
- Preheat your oven to 375°F (190°C).
- Take out your store-bought pie crust from the refrigerator and let it sit at room temperature for a few minutes to soften slightly.
- Dust a clean surface with flour and roll out the pie crust until it fits a standard 9-inch pie plate.
- Carefully place the rolled-out pie crust into the pie plate, gently pressing it into the bottom and up the sides.
- Trim any excess dough from the edges and crimp them decoratively with your fingers or a fork.
- Place the pie crust in the freezer for about 15 minutes to firm up.
Step 3
Prepare the Filling:
- In a large mixing bowl, crack the large egg and add the three egg yolks. Whisk them together until smooth.
- Add the pumpkin puree, whole milk, heavy cream, and vanilla extract to the bowl with the eggs. Whisk until well combined.
- In a separate small bowl, mix together the sugar, cinnamon, nutmeg, ginger, pumpkin spice, salt, black pepper, and ground cloves.
- Gradually add the dry ingredients to the pumpkin mixture, whisking continuously until smooth and evenly combined.

Step 3
Assemble and Bake the Pie:
- Take the pre-baked pie crust out of the freezer and line it with parchment paper.
- Fill the pie crust with pie weights or dried beans to prevent it from puffing up during baking.
- Bake the pie crust in the preheated oven for 15 to 20 minutes.
- Remove the parchment paper and pie weights, then bake for an additional 5 minutes until the crust is golden brown.
- Reduce the oven temperature to 325°F (160°C).
- Pour the prepared pumpkin filling into the pre-baked pie crust.
- Carefully transfer the pie to the oven and bake for 45 to 60 minutes, or until the edges are set and the center is slightly jiggly.
- If you have an instant-read thermometer, the center of the pie should measure 175°F (80°C).
- Once baked, remove the pie from the oven and allow it to cool on a wire rack for at least 2 hours.
- Once cooled, cover the pie with plastic wrap and refrigerate until ready to serve.
Recipe Notes:
– The store-bought crust works perfectly for this recipe, but if you prefer to make your own crust from scratch, feel free to do so.
– The combination of spices like cinnamon, ginger, nutmeg, and cloves is what gives this pumpkin pie it’s signature fall flavor, so make sure not to skimp on these ingredients.

Recipe Variations:
While the classic Costco Pumpkin Pie is undeniably delicious, there are several variations you can try to put a unique twist on this seasonal treat.
Some ideas include adding a streusel topping, incorporating a layer of cream cheese swirl, or even infusing the filling with a hint of bourbon for an extra kick of flavor.

Costco Pumpkin Pie Recipe
Equipment
- Pie plate
Ingredients
Crust:
- store-bought crust standard size
Filling
- ¾ teaspoon ground ginger
- ½ cup whole milk
- 1 can pumpkin puree 15-ounce
- 1 large egg
- ½ teaspoon nutmeg
- 1 cup heavy cream
- ½ teaspoon salt
- ¾ cup sugar
- ⅛ teaspoon black pepper
- 2 teaspoons vanilla extract
- 2 teaspoons ground cinnamon
- 2 teaspoons pumpkin spice
- ⅛ teaspoon ground cloves
- 3 egg yolks
Instructions
Step 1
Prepare the Pie Crust:
- Preheat your oven to 375°F (190°C).
- Take out your store-bought pie crust from the refrigerator and let it sit at room temperature for a few minutes to soften slightly.
- Dust a clean surface with flour and roll out the pie crust until it fits a standard 9-inch pie plate.
- Carefully place the rolled-out pie crust into the pie plate, gently pressing it into the bottom and up the sides.
- Trim any excess dough from the edges and crimp them decoratively with your fingers or a fork.
- Place the pie crust in the freezer for about 15 minutes to firm up.
Step 3
Prepare the Filling:
- In a large mixing bowl, crack the large egg and add the three egg yolks. Whisk them together until smooth.
- Add the pumpkin puree, whole milk, heavy cream, and vanilla extract to the bowl with the eggs. Whisk until well combined.
- In a separate small bowl, mix together the sugar, cinnamon, nutmeg, ginger, pumpkin spice, salt, black pepper, and ground cloves.
- Gradually add the dry ingredients to the pumpkin mixture, whisking continuously until smooth and evenly combined.
Step 3
Assemble and Bake the Pie:
- Take the pre-baked pie crust out of the freezer and line it with parchment paper.
- Fill the pie crust with pie weights or dried beans to prevent it from puffing up during baking.
- Bake the pie crust in the preheated oven for 15 to 20 minutes.
- Remove the parchment paper and pie weights, then bake for an additional 5 minutes until the crust is golden brown.
- Reduce the oven temperature to 325°F (160°C).
- Pour the prepared pumpkin filling into the pre-baked pie crust.
- Carefully transfer the pie to the oven and bake for 45 to 60 minutes, or until the edges are set and the center is slightly jiggly.
- If you have an instant-read thermometer, the center of the pie should measure 175°F (80°C).
- Once baked, remove the pie from the oven and allow it to cool on a wire rack for at least 2 hours.
- Once cooled, cover the pie with plastic wrap and refrigerate until ready to serve.
Notes
- – The store-bought crust works perfectly for this recipe, but if you prefer to make your own crust from scratch, feel free to do so.
- – The combination of spices like cinnamon, ginger, nutmeg, and cloves is what gives this pumpkin pie it’s signature fall flavor, so make sure not to skimp on these ingredients.
Frequently Asked Questions:
1. Can I use fresh pumpkin instead of canned pumpkin puree?
– While canned pumpkin puree is convenient and works perfectly for this recipe, you can certainly use fresh pumpkin puree if you prefer. Just make sure to cook and puree the fresh pumpkin until smooth before adding it to the filling mixture.
2. Can I substitute the heavy cream with a lighter alternative?
– If you’re looking to reduce the calorie content of the pie, you can substitute the heavy cream with an equal amount of whole milk or a combination of milk and Greek yogurt for a slightly lighter texture.
3. How long can the Costco Pumpkin Pie be stored?
– The pie can be stored in the refrigerator for up to 3-4 days. Make sure to cover it tightly with plastic wrap or aluminum foil to retain its freshness.
4. Can I freeze the Costco Pumpkin Pie for later?
– Yes, the pie can be frozen for up to 2-3 months. Just make sure to wrap it tightly in plastic wrap and aluminum foil before freezing. Thaw in the refrigerator before serving.
5. What are some creative garnish ideas for the Costco Pumpkin Pie?
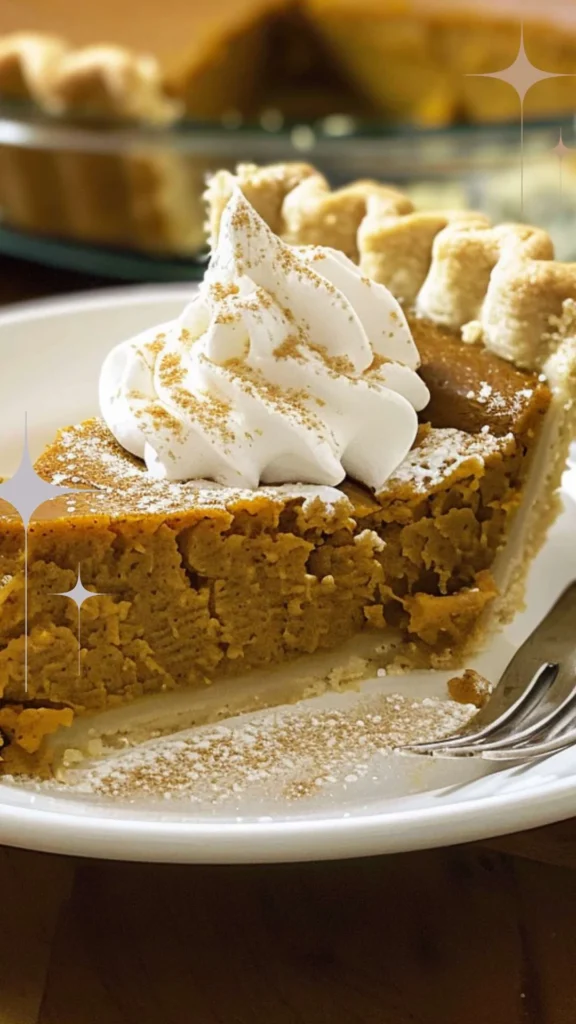
– You can top the pie with a sprinkle of toasted pecans, a drizzle of caramel sauce, a dusting of powdered sugar, or a dollop of whipped cream to enhance its presentation and flavor.
6. How can I prevent the crust from getting soggy?
– To prevent the crust from becoming soggy, you can blind-bake it before adding the filling. Simply line the crust with parchment paper, fill it with pie weights or dried beans, and bake it for 10-15 minutes before continuing with the recipe.
Conclusion:
In conclusion, the Costco Pumpkin Pie is a timeless classic that encapsulates the essence of fall in every bite. By following the simple steps and tips outlined in this recipe guide, you can recreate this beloved dessert in your own kitchen and enjoy the warmth and comfort it brings.
Whether you choose to make it for a holiday gathering or a cozy night in, the Costco Pumpkin Pie is sure to delight your taste buds and leave you craving more. Embrace the flavors of the season and indulge in the joy of baking with this irresistible pumpkin pie recipe.
You’ll also like the latest recipes!
My name is Lori Walker. I’m a registered dietitian, food blogger and food enthusiast. I share easy healthy, delicious recipes on my blog and review necessary kitchen items. The recipes I share take less… Read more
