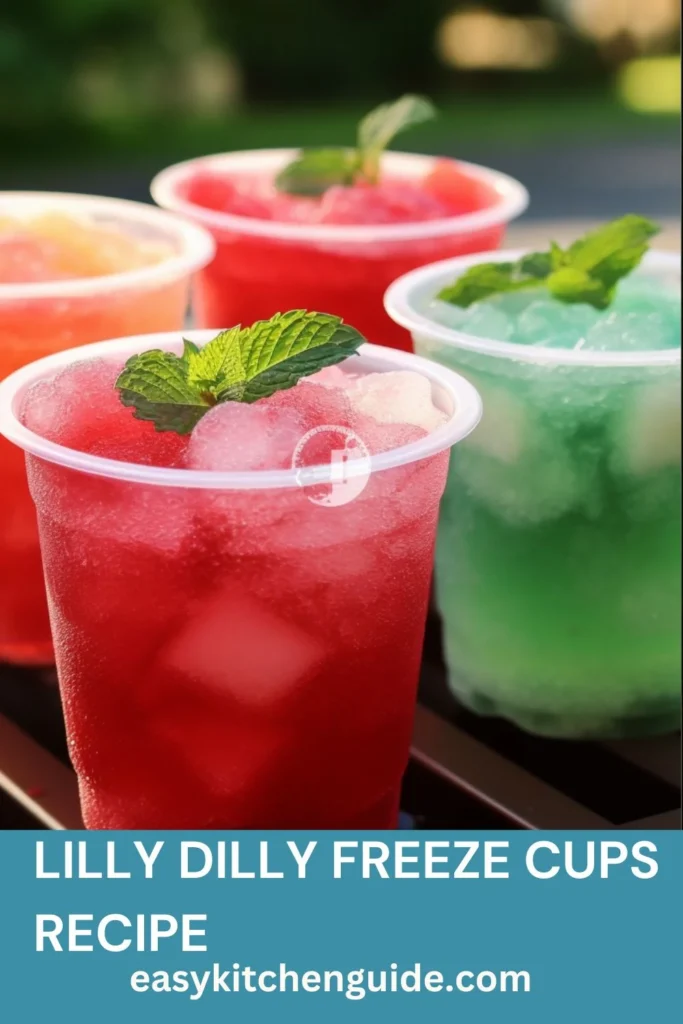
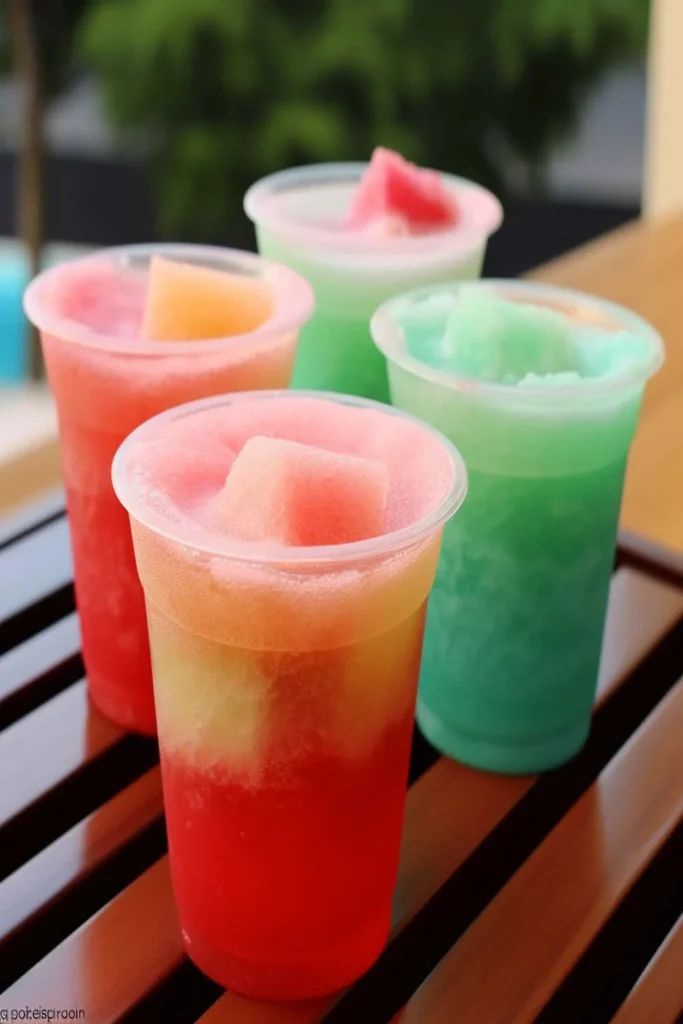
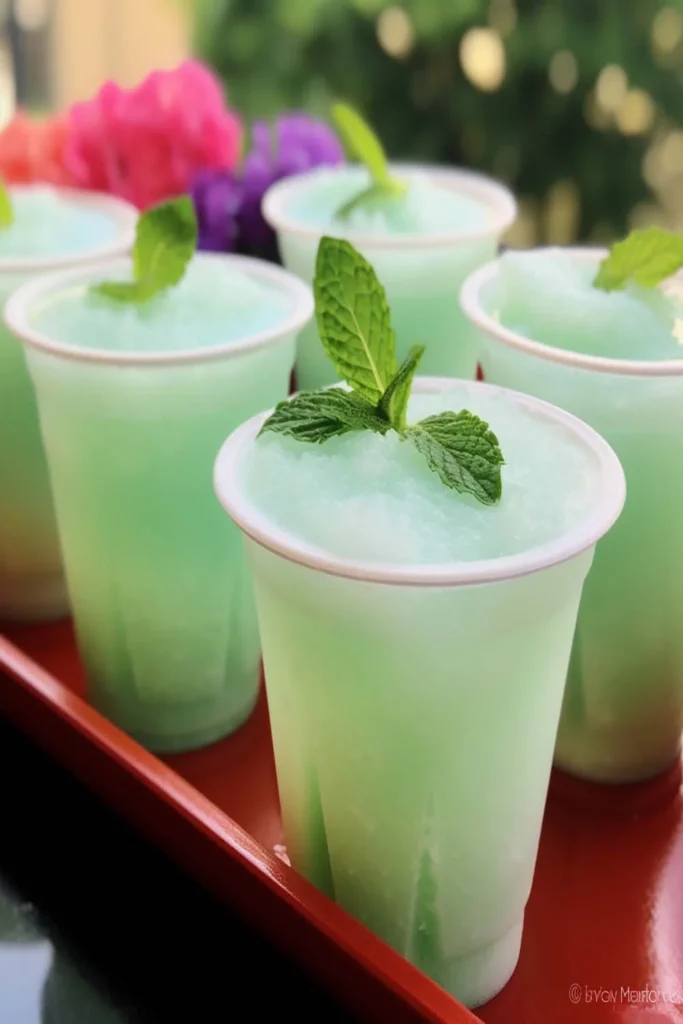
Welcome to a refreshing world of sweet delights! Today, we’re diving into the vibrant and frosty universe of Lilly Dilly Freeze Cups. This whimsical treat, brimming with invigorating flavors and colorful charm, is the perfect antidote to a hot summer day or a delightful indulgence any time you need a pick-me-up.
The Lilly Dilly Freeze Cup recipe is not only easy to whip up but also incredibly customizable, allowing you to play around with your favorite fruits and flavors. So let’s get started on this icy adventure and create a dessert that’s as fun to make as it is to eat!

What are Lilly Dilly freeze cups?
Lilly Dilly Freeze Cups are a frozen dessert made by combining fruity liquid with simple syrup, freezing the mixture in small cups, and serving it as an individual treat. The concept of these colorful frozen treats was inspired by Italian ice and shaved ice desserts, but with a unique twist – they’re served in portable cups instead of scoops or cones. This makes them perfect for outdoor events, pool parties, or a simple afternoon treat.
Why You’ll Love These Lilly Dilly Freeze Cups?
There are many reasons to fall in love with this freeze cups-
- Endless Flavor Combinations – The base recipe for Lilly Dilly Freeze Cups is a refreshing blend of fruit juice and simple syrup, but the possibilities for flavor combinations are endless! You can mix and match your favorite fruits, add some herbs or spices, or even incorporate different types of sweeteners to create a unique taste each time.
- Easy to Make – With just a few simple ingredients and minimal prep time, Lilly Dilly Freeze Cups are incredibly easy to make. You can even prepare them ahead of time and store them in the freezer for a quick treat whenever you need one.
- Kid-Friendly – Kids will love making their own personalized Lilly Dilly Freeze Cups with their favorite flavors and toppings. This is also a great way to introduce them to new fruits and flavors in a fun and creative way.
- Refreshing – There’s nothing quite like the cool, icy sensation of a Lilly Dilly Freeze Cup on a hot summer day. It’s the perfect treat to beat the heat and keep you feeling refreshed all day long.
- Portable – These freeze cups are small enough to be served as individual treats, making them perfect for on-the-go snacking. Pack them in a cooler for a picnic or bring them along to the beach – they’re the ultimate portable treat!
You’ll also like the following Dessert recipes!
- Gold Buttercream FrostingCopycat Recipe
- How to Make Pina Colada Mousse
- Cookie Monster Cinnamon Rolls Recipe
Ingredients
- Assorted Flavored Kool-Aid: Kool-Aid is the primary source of flavor in these popsicles. By using an assortment of flavors, you can create a variety of popsicles to suit different tastes. This makes the recipe versatile and appealing to people with diverse flavor preferences.
- Paper Cups: The paper cups act as the mold for the popsicles. They are perfect for this use because they can be torn away easily once the popsicle is frozen. Moreover, they are disposable which makes the clean-up process after making your popsicles a breeze.
- Warm or Hot Water: Warm water helps in dissolving the Kool-Aid and sugar more effectively. It ensures that the flavors and sweetness are evenly distributed throughout the mixture before it is frozen. This is vital for achieving a consistent taste in every bite of the popsicle.
- Sugar: Sugar enhances the flavor of the Kool-Aid and provides the sweetness that characterizes popsicles. Without sugar, the popsicles would taste bland and unappealing. Sugar also lowers the freezing point of the water, resulting in a smoother and less icy texture in the final product.

Directions
Step 1: Prepare the Kool-Aid Mixture
- In a large bowl, start by mixing the Kool-Aid powder and sugar. Ensure that the two ingredients are fully combined. This creates the flavorful base for your Lilly Dilly Freeze Cups.
Step 2: Dissolve Sugar in Warm Water
- Pour warm or hot water into the bowl containing the Kool-Aid powder and sugar mixture.
- Stir diligently until all the sugar is completely dissolved in the water. This step ensures a sweet and well-blended liquid.
Step 3: Cool the Mixture
- Let the Kool-Aid mixture cool for approximately 5-10 minutes, allowing it to reach room temperature. This cooling period helps prevent the cups from becoming too warm and losing their shape.
Step 4: Prepare the Cups
- Get your paper cups ready by placing them on a flat tray or plate for stability. This setup will make it easier to handle the cups and prevent any spillage.
Step 5: Fill the Cups
- Pour the prepared Kool-Aid mixture into each paper cup, filling each one approximately three-quarters full. This leaves room for expansion during freezing.
Step 6: Insert Popsicle Sticks
- Cover each cup with aluminum foil or plastic wrap.
- Pierce a popsicle stick through the center of the foil or wrap, ensuring it goes into the liquid of each cup. This stick will serve as the handle for your Lilly Dilly Freeze Cups.
Step 7: Freeze the Cups
- Place the tray with the prepared cups in the freezer.
- Allow them to freeze for a minimum of 4 hours or until they become solid. This freezing time ensures your treats are fully set and ready to enjoy.
Step 8: Unwrap and Serve
- Once the Lilly Dilly Freeze Cups are frozen, remove the aluminum foil or plastic wrap carefully.
- Gently tear away the paper cup to reveal your delicious frozen treats.
- Serve them immediately for a refreshing delight or store any extras in an airtight container in the freezer for later enjoyment.
Notes
- For a slushier texture, try using a 2-to-1 ratio of Kool-Aid to water.
- Experiment with different types of sweeteners, such as honey or agave nectar, for a healthier alternative.
- Get creative with your flavors and toppings – try adding in fresh fruit chunks or herbs like mint leaves for an extra burst of flavor.
- Don’t have paper cups? You can also use popsicle molds or even ice cube trays for smaller, bite-sized Lilly Dilly Freeze Cups.
Storage Tips
- Once frozen and removed from the paper cups, store the Lilly Dilly Freeze Cups in an airtight container or zip-top bag for up to 2 weeks.
- If using popsicle molds or ice cube trays, make sure to cover them tightly with plastic wrap or foil before freezing.
- Be careful when storing the cups in the freezer as they can easily melt if not kept in a well-sealed container.
- Allow the cups to thaw for a few minutes before serving to make them easier to eat.

Nutrition Information
Serving Suggestions
- Serve as a refreshing dessert alongside your favorite summer barbecue dishes.
- Enjoy as a midday snack on a hot day to cool down and satisfy your sweet tooth.
- Use as an alternative to sugary drinks for kids’ parties or events.
- Add in some fun toppings like gummy candies, sprinkles, or whipped cream for extra flavor and texture.
What other substitute can I use for Lilly Dilly freeze cups?
- Instead of Kool-Aid, you can use other powdered drink mixes like Tang or Crystal Light.
- For a creamy and tangy twist, mix in some yogurt or pudding into the Kool-Aid mixture before freezing.
- If using popsicle molds, try layering different flavors for a colorful and flavorful treat.

Lilly Dilly Freeze Cups Recipe
Ingredients
- 12 packs of assorted flavored Kool-Aid
- 24 paper cups
- 6 quarts warm or hot water
- 6 cups sugar
Instructions
- Combine Kool-Aid powder and sugar in a large bowl.
- Pour in warm/hot water and stir until sugar completely dissolves.
- Let it cool to room temperature for 5-10 minutes.
- Place paper cups on a flat tray for stability.
- Pour the Kool-Aid mixture into cups, filling them about three-quarters full.
- Cover each cup with foil/plastic wrap, and insert a popsicle stick through it into the liquid.
- Freeze for at least 4 hours until solid.
- Remove foil/wrap and gently tear away the paper cup to reveal your Lilly Dilly Freeze Cup. Serve immediately or store in an airtight container in the freezer for later enjoyment.
Notes
- For a slushier texture, try using a 2-to-1 ratio of Kool-Aid to water.
- Experiment with different types of sweeteners, such as honey or agave nectar, for a healthier alternative.
- Get creative with your flavors and toppings – try adding in fresh fruit chunks or herbs like mint leaves for an extra burst of flavor.
- Don’t have paper cups? You can also use popsicle molds or even ice cube trays for smaller, bite-sized Lilly Dilly Freeze Cups.
FAQs
1. Can I use a different sweetener instead of sugar in this recipe?
Yes, you can substitute sugar with other sweeteners like honey, agave nectar, or artificial sweeteners. However, keep in mind that each sweetener has a different level of sweetness and may alter the taste of the popsicles. Always adjust the quantity based on your preference.
2. Can I mix different flavors of Kool-Aid in one cup?
Absolutely! Mixing different Kool-Aid flavors can create a unique and exciting taste experience. Just remember to balance the flavors so one doesn’t overpower the others.
3. Are these frozen cups healthy?
While Lilly Dilly Freeze Cups are a fun treat, they contain quite a bit of sugar. For a healthier version, you could try using less sugar or substituting it with a natural sweetener. You could also add fresh fruit juice or puree for an extra dose of nutrients.
4. My freeze cups turned out too icy. What did I do wrong?
If your freeze cups are too icy, it might be because the sugar was not completely dissolved before freezing. Using warm water and ensuring the sugar is fully dissolved can help prevent this issue.
Conclusion
Lilly Dilly Freeze Cups are a fun and flavorful way to cool off during the summer months. With endless flavor combinations and easy customization options, they’re sure to become a family favorite in no time. So gather your ingredients, get creative with your flavors, and enjoy this delicious frozen treat!
Also, don’t forget to share your unique creations with us – we’d love to see how you make your Lilly Dilly Freeze Cups!
You’ll also like the latest recipes!
My name is Lori Walker. I’m a registered dietitian, food blogger and food enthusiast. I share easy healthy, delicious recipes on my blog and review necessary kitchen items. The recipes I share take less… Read more
