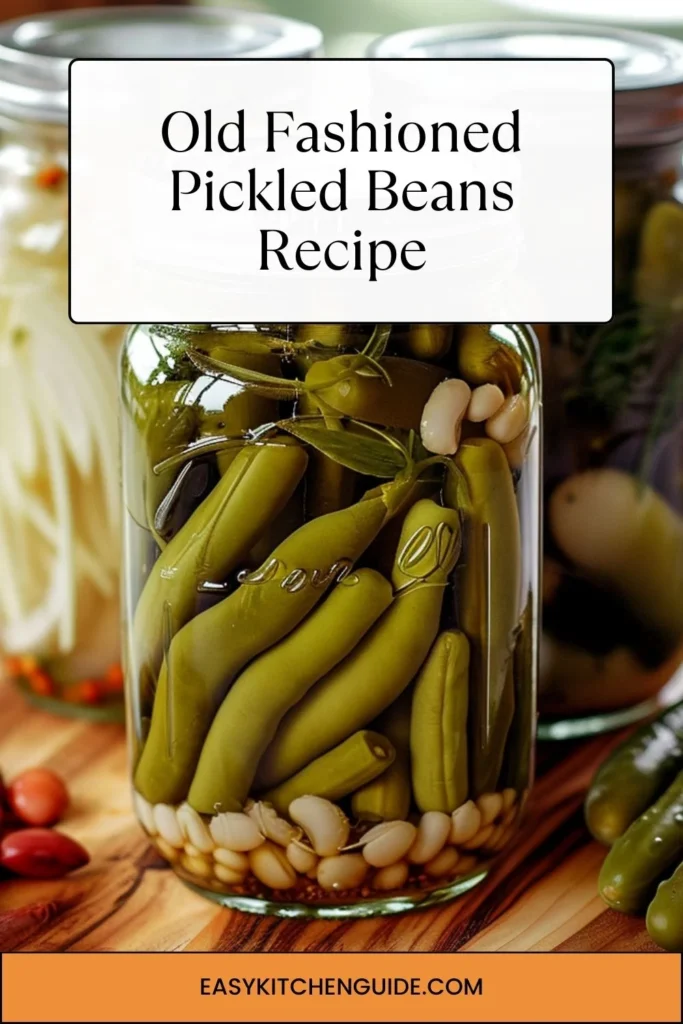
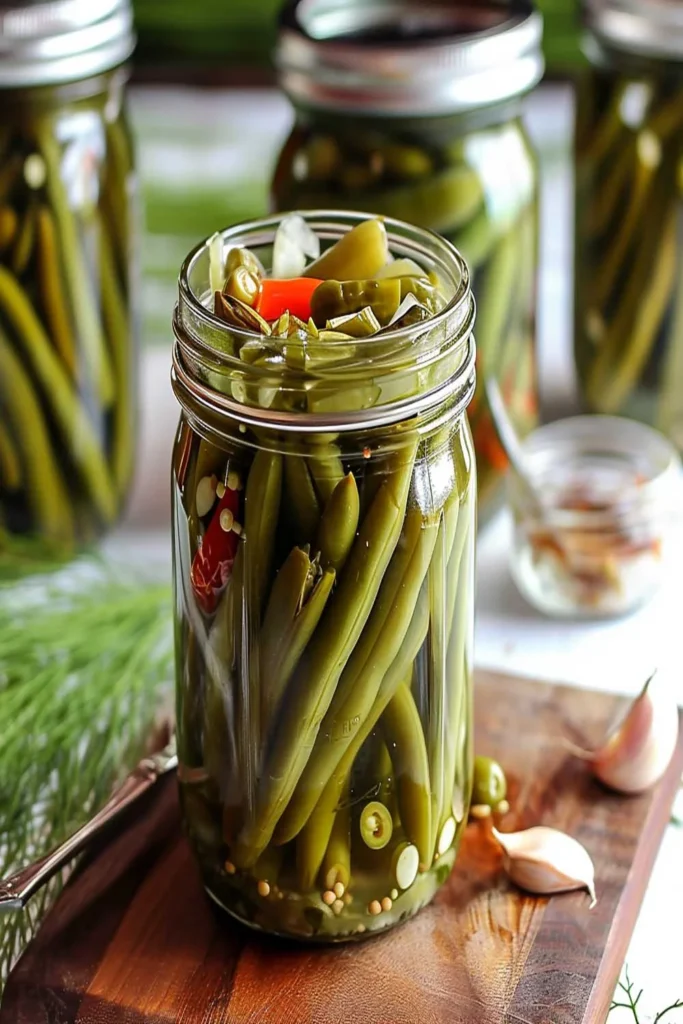
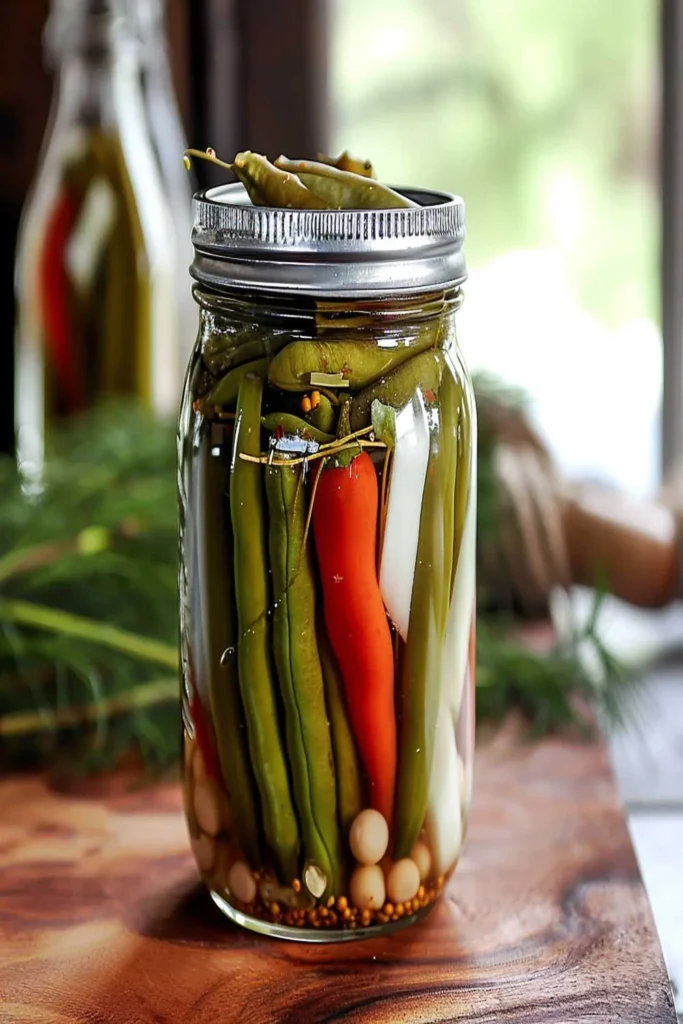
Old fashioned pickled beans recipe is an old-time favorite that’s been around for generations. This classic side dish is a delicious way to enjoy beans that have been pickled with a variety of spices, herbs, and other ingredients. Pickling beans has a long history in many cultures, and this old-fashioned pickled beans recipe is sure to be a hit with family and friends.
The best part about this old-fashioned pickled beans recipe is that it is so easy to make. With just a few simple ingredients, you can create a savory side dish that is sure to please. Whether you’re serving it as a side dish or as a part of a larger meal, this old-fashioned pickled beans recipe is sure to be a hit.

What are old fashioned pickled beans?
The Old fashioned pickled beans is a classic and time-honored way to enjoy beans. It involves pickling the beans with spices, herbs, and other ingredients in a vinegar-based solution.
This pickling process helps to preserve the beans while giving them a slight tangy flavor.
Pickling beans is an ancient food preservation technique that has been used in many cultures for centuries. It is a great way to make use of beans that are about to go bad. Pickling them in a vinegar-based solution helps to lengthen their shelf life while adding flavor.
Why You’ll Love this old fashioned pickled beans?
Old fashioned pickled bean recipe is a great way to enjoy the flavor of beans without the hassle of cooking them. Pickling beans is an easy and time-saving way to prepare a savory side dish. Plus, it is a great way to make use of beans that are about to expire.
The best part about this old-fashioned pickled beans recipe is that it is so versatile. You can use a variety of spices and herbs to add flavor to the pickling solution. This allows you to create a unique flavor that is sure to please everyone.
You’ll also like the following Dinner recipes!
The Ingredients
To make this old-fashioned pickled beans recipe, you will need:
- 4 pounds of freshly harvested string beans: The star of the recipe, these fresh string beans are the base ingredient for the pickled beans. Their crisp texture and mild flavor make them perfect for pickling. They’ll absorb the flavors of the brine while retaining their crunch.
- 1/2 cup of premium canning salt: Canning salt is used specifically in pickling to maintain the crispness of the vegetables and to help preserve them. It also dissolves easily in the brine, ensuring even distribution of salt throughout.
- 5 cups of choice white vinegar or artisanal apple cider vinegar: Vinegar provides the necessary acidity for pickling, preserving the beans by creating an inhospitable environment for bacteria to grow. The choice between white vinegar and apple cider vinegar can alter the final taste profile—white vinegar offers a more neutral flavor, while apple cider vinegar adds a hint of fruitiness.
- 5 cups of meticulously filtered water: Water dilutes the strong acidity of the vinegar, ensuring the brine isn’t overpowering. Using filtered water helps maintain the purity of the brine, preventing any unwanted flavors or impurities from affecting the pickled beans.
- 8 cloves of pungent garlic, divided: Garlic adds depth and a robust flavor to the pickled beans. It infuses the brine with its pungent taste and aroma, complementing the beans and enhancing the overall flavor profile.
- 16 teaspoons of aromatic dried dill seeds or 8 heads of fragrant dill, divided: Dill contributes its distinct earthy and slightly tangy flavor to the pickling brine. Whether using dried seeds or fresh heads, dill brings a unique herbal note that complements the beans and adds complexity to the pickling liquid.
- 2 teaspoons of fiery red pepper flakes, divided: Red pepper flakes introduce a kick of heat and spice to the pickled beans. This ingredient provides a contrast to the other flavors, adding a subtle fiery element that enhances the overall taste experience without overpowering the dish.

Directions
STEP 1: Prepare the Beans
- Wash the string beans thoroughly, ensuring they’re clean. Trim off both ends and cut them into lengths that fit the height of your canning jars.
STEP 2: Sterilize Jars
- Wash the canning jars and lids with hot, soapy water. Rinse them well.
- Sterilize the jars by boiling them in a large pot of water for 10 minutes. Keep them hot until ready to use.
STEP 3: Make the Brine
- In a large pot, combine vinegar, water, and canning salt.
- Bring the mixture to a boil, stirring to dissolve the salt completely.
- Once boiling, reduce the heat and let it simmer while you prepare the jars.
STEP 4: Prepare Flavorings
- Divide garlic cloves, dill seeds or heads, and red pepper flakes equally among the sterilized jars.
- Place 1 clove of garlic, 2 teaspoons of dill seeds or 1 head of dill, and 1/4 teaspoon of red pepper flakes in each jar.
STEP 5: Pack the Jars
- Pack the trimmed beans tightly into the prepared jars, leaving about 1/2 inch of headspace at the top.
STEP 6: Fill with Brine
- Carefully pour the hot brine over the beans in each jar, maintaining the 1/2 inch of headspace.
- Ensure the beans are fully submerged in the brine. Leave about 1/4 inch of space at the top of each jar.
STEP 7: Remove Air Bubbles
- Use a non-metallic utensil (like a chopstick or plastic spatula) to slide down the sides of the jars, releasing any trapped air bubbles within the beans and brine.
STEP 8: Seal and Process
- Wipe the jar rims clean and place the sterilized lids on top, sealing them tightly.
- Process the jars in a boiling water bath for 10-15 minutes, ensuring they are completely submerged.
STEP 9: Cool and Store
- Carefully remove the jars from the water bath using jar lifters and place them on a towel-lined countertop.
- Allow the jars to cool completely. Check that the lids have sealed properly (you should hear a popping sound as they cool and the lids become concave).
STEP 10: Enjoy
- Store the sealed jars in a cool, dark place for at least 2 weeks before consuming to allow the flavors to meld.
- Once opened, store the pickled beans in the refrigerator.
STEP 11: Serve
- Enjoy these delicious pickled beans as a tangy and flavorful addition to salads, sandwiches, or as a standalone snack!
Notes
- Make sure to use fresh beans for the best flavor.
- If you want a spicier pickled beans recipe, you can add more spices and herbs to the pickling solution.
- You can adjust the ratio of vinegar and water in the pickling solution depending on your personal preference.
- If you don’t have white vinegar, you can use apple cider vinegar instead.
- If you don’t have sugar, you can use honey instead.
- If you don’t have sea salt, you can use regular table salt instead.
Storage Tips
Pickled beans can be stored in the refrigerator for up to two months. Make sure the jars are sealed tightly to prevent the beans from spoiling.

Nutrition Information
One serving of old fashioned pickled beans (1/2 cup) contains approximately 80 calories, 0 grams of fat, 18 grams of carbohydrates, 4 grams of protein, and 2 grams of fiber.
Serving Suggestions
- Serve pickled beans as a side dish with grilled meats or vegetables.
- Use pickled beans as a topping for salads.
- Add pickled beans to sandwiches or wraps.
- Mix pickled beans and rice or couscous.
- Use pickled beans as a topping for tacos or nachos.
- Serve pickled beans with crackers or chips as an appetizer.
What other substitute can I use in an old fashioned pickled bean?
- If you don’t have white vinegar, you can use apple cider vinegar instead.
- If you don’t have sugar, you can use honey instead.
- If you don’t have sea salt, you can use regular table salt instead.
- If you don’t have garlic, you can use onion powder instead.
- If you don’t have bay leaves, you can use rosemary instead.
- If you don’t have oregano, you can use thyme instead.
- If you don’t have dill, you can use parsley instead.

Old Fashioned Pickled Beans Recipe
Equipment
- jar
Ingredients
- 1/2 cup of premium canning salt
- 5 cups of choice white vinegar or artisanal apple cider vinegar
- 4 pounds of freshly harvested string beans
- 8 cloves of pungent garlic divided
- 2 teaspoons of fiery red pepper flakes divided
- 5 cups of meticulously filtered water
- 16 teaspoons of aromatic dried dill seeds or 8 heads of fragrant dill divided
Instructions
STEP 1 – Prepare the Beans:
- Wash the string beans thoroughly and trim off both ends. Cut them into lengths that fit the height of your canning jars.
STEP 2 – Sterilize Jars:
- Wash the canning jars and lids with hot, soapy water. Rinse well. Sterilize the jars by boiling them in a large pot of water for 10 minutes. Keep them hot until ready to use.
STEP 3 – Make the Brine:
- In a large pot, combine the vinegar, water, and canning salt. Bring the mixture to a boil, stirring to dissolve the salt completely. Once boiling, reduce the heat and let it simmer while you prepare the jars.
STEP 4 – Prepare Flavorings:
- Divide the garlic cloves, dill seeds or heads, and red pepper flakes equally among the sterilized jars. Place 1 clove of garlic, 2 teaspoons of dill seeds or 1 head of dill, and 1/4 teaspoon of red pepper flakes in each jar.
STEP 5 – Pack the Jars:
- Pack the trimmed beans tightly into the prepared jars, leaving about 1/2 inch of headspace at the top.
STEP 6 – Fill with Brine:
- Carefully pour the hot brine over the beans in each jar, maintaining the 1/2 inch of headspace. Ensure the beans are fully submerged in the brine. Leave about 1/4 inch of space at the top of each jar.
STEP 7 – Remove Air Bubbles:
- Slide a non-metallic utensil (like a chopstick or plastic spatula) down the sides of the jars to release any air bubbles trapped within the beans and brine.
STEP 8 – Seal and Process:
- Wipe the jar rims clean and place the sterilized lids on top, sealing them tightly. Process the jars in a boiling water bath for 10-15 minutes, ensuring they are completely submerged.
STEP 9 – Cool and Store:
- Carefully remove the jars from the water bath using jar lifters and place them on a towel-lined countertop. Allow the jars to cool completely, checking that the lids have sealed properly (you should hear a popping sound as they cool and the lids become concave).
STEP 10 – Enjoy:
- Store the sealed jars in a cool, dark place for at least 2 weeks before consuming to allow the flavors to meld. Once opened, store the pickled beans in the refrigerator.
STEP 11 – Serve:
- Serve these delicious pickled beans as a tangy and flavorful addition to salads, sandwiches, or enjoy them as a standalone snack!
Notes
- Make sure to use fresh beans for the best flavor.
- If you want a spicier pickled beans recipe, you can add more spices and herbs to the pickling solution.
- You can adjust the ratio of vinegar and water in the pickling solution depending on your personal preference.
- If you don’t have white vinegar, you can use apple cider vinegar instead.
- If you don’t have sugar, you can use honey instead.
- If you don’t have sea salt, you can use regular table salt instead.
Frequently Asked Questions
Q1. How long does it take to pickle beans?
A. It takes at least two weeks for the beans to pickle properly. The longer you leave the beans in the pickling solution, the more flavor they will have.
Q2. Can I use canned beans for this recipe?
A. No, you should not use canned beans for this recipe. Canned beans have already been cooked and will not pickle properly.
Q3. How long can pickled beans be stored?
A. Pickled beans can be stored in the refrigerator for up to two months. Make sure the jars are sealed tightly to prevent the beans from spoiling.
Q4. Can I double this recipe?
A. Yes, you can easily double or triple this recipe if needed.
Q5. Can I use different types of beans for this recipe?
A. Yes, you can use any type of bean you like for this recipe. Popular options include black beans, pinto beans, or kidney beans.
Q6. Can I use different types of vinegar for this recipe?
A. Yes, you can use any type of vinegar you like for this recipe. Popular options include white vinegar or apple cider vinegar.
Q7. Can I freeze pickled beans?
A. No, you should not freeze pickled beans. Freezing the beans will alter their flavor and texture.
Conclusion
Old fashioned pickled beans recipe is a classic and time-honored way to enjoy beans. It involves pickling the beans with spices, herbs, and other ingredients in a vinegar-based solution. This pickling process helps to preserve the beans while giving them a slight tangy flavor. Pickling beans is an easy and time-saving way to prepare a savory side dish. Plus, it is a great way to make use of beans that are about to expire.
With this easy old-fashioned pickled beans recipe, you can create a delicious side dish that is sure to please family and friends.
You’ll also like the latest recipes!
My name is Lori Walker. I’m a registered dietitian, food blogger and food enthusiast. I share easy healthy, delicious recipes on my blog and review necessary kitchen items. The recipes I share take less… Read more
