There’s something undeniably satisfying about mastering a restaurant-style chicken pizza in your own kitchen. Making it at home allows you to enjoy the deliciousness without breaking the bank.
Plus, you can customize it to your liking. I love sharing meals with friends and family, and nothing brings people together quite like a homemade pizza from scratch.
You can also try out my other delicious pizza recipes like Puff Pastry Pizza, Carne Asada Pizza, Cauliflower White Pizza and Pizza Inn’s Chocolate Chip Pizza!

Why This Recipe Is Good for You?
This pizza recipe is great for more than just its mouth-watering taste. You know exactly what’s going into your meal, which means no hidden preservatives or unnecessary additives.
Each ingredient, from the fresh veggies to the tender chicken, is handpicked, ensuring you get the best nutrition and flavor.
Here’s a Peek at the Ingredients
While creating this chicken pizza, I remember strolling through the farmer’s market, overwhelmed by the vibrant colors and fresh aromas. My goal was to use high-quality, fresh ingredients that elevate the taste.
Yeast Mixture: The essential base of the dough, setting the stage for a delightful crust.
– 4 oz luke-warm milk
– 1/2 tbsp active dry yeast
– 1 tsp brown sugar
Dough: The backbone of your pizza, expect a crispy exterior with a tender inside.
– 2 cups all-purpose flour
– 1 tbsp brown sugar
– 1 tsp salt
– 2 tbsp olive oil
– 1 large egg
Toppings: The flavor powerhouse. I went with a combination that both satisfies and excites the palate.
– 1 cup pizza sauce
– 1 cup mozzarella cheese
– 1 green bell pepper
– 1 red bell pepper
– 5-6 black or green olives
– 1 onion, sliced
– 1/2 cup chicken, shredded
Making Process of Restaurant-Style Chicken Pizza at Home
Step 1: Prepare the Yeast Mixture
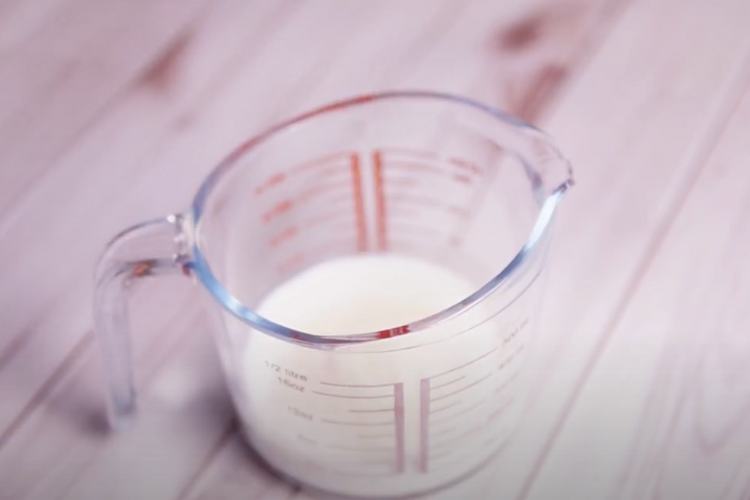
First things first, let’s start by prepping the yeast. Gently warm the milk, making sure it’s just lukewarm. Combine it with the yeast and brown sugar. Stir well and let it sit for about 5-10 minutes. You’ll notice it becoming frothy – that’s your yeast coming to life.
Step 2: Make the Dough
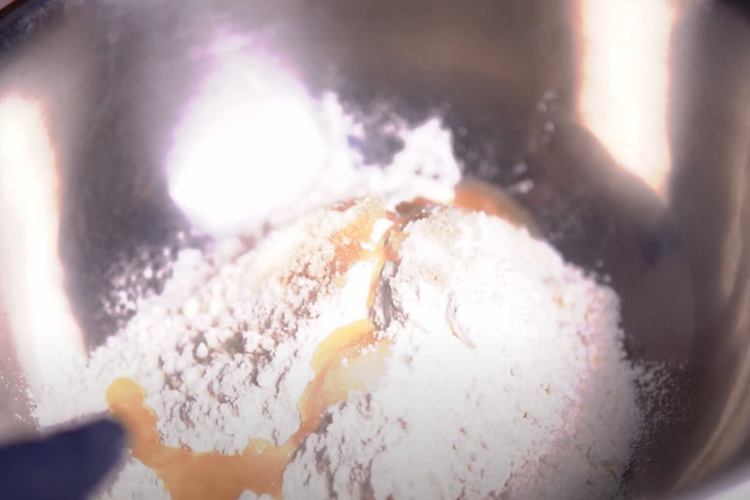
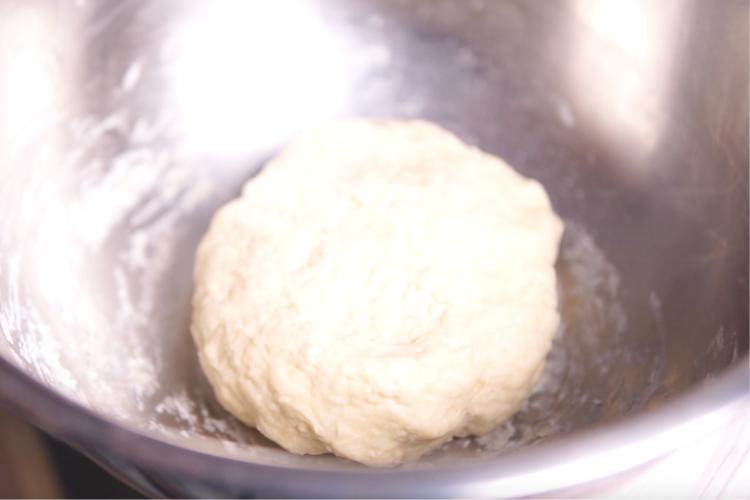
In a large mixing bowl, combine the all-purpose flour, brown sugar, and salt. Create a well in the center and add the yeast mixture, olive oil, and the beaten egg. Mix everything until it starts to come together. Transfer the dough to a lightly floured surface and knead it for about 8-10 minutes. You want a smooth, elastic dough.
Step 3: Let the Dough Rise
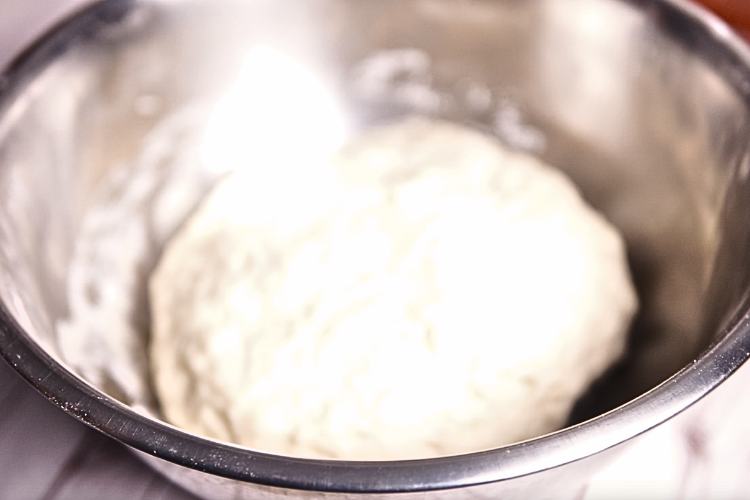
Place the dough in a lightly oiled bowl, cover it with a damp cloth, and let it rise for around an hour or until it has doubled in size. You might need to punch it down once during this time.
Step 4: Prepare the Toppings
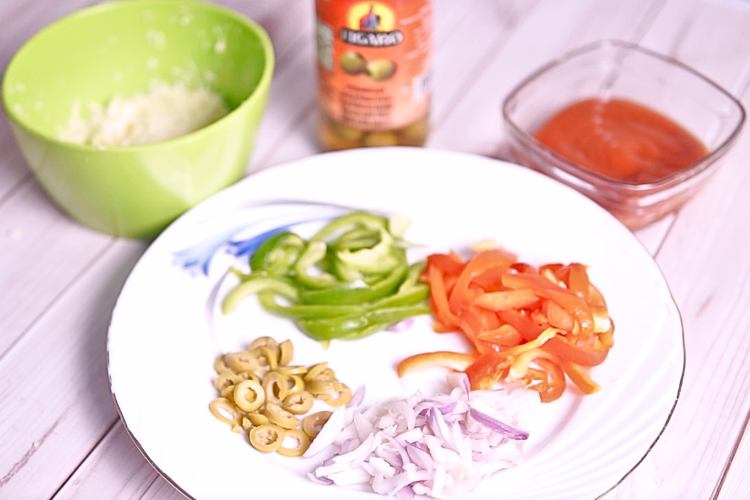
While the dough rests, let’s get those toppings ready. Shred the chicken, slice the bell peppers, onions, and olives. If you haven’t already, grate the mozzarella cheese. I like to use freshly shredded cheese because it melts better and tastes creamier.
Step 5: Assemble the Pizza
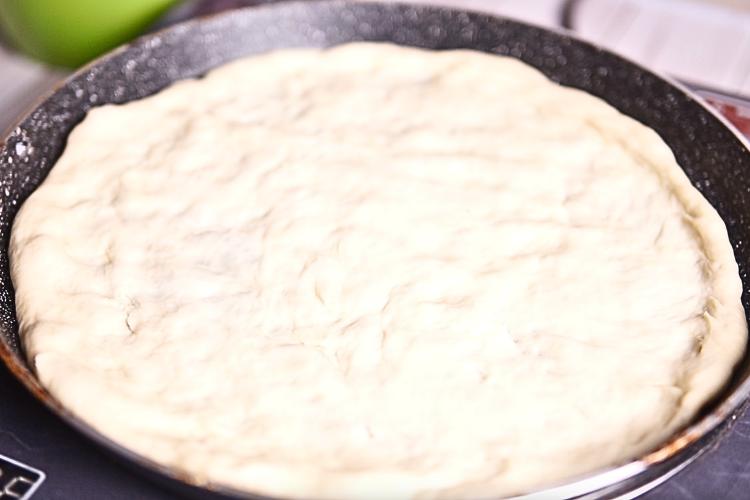
Preheat your oven to 475°F (245°C). Roll out the dough on a floured surface to your desired thickness—I aim for a medium crust. Transfer the dough onto a pizza stone, round fry pan or a suitable baking tray.
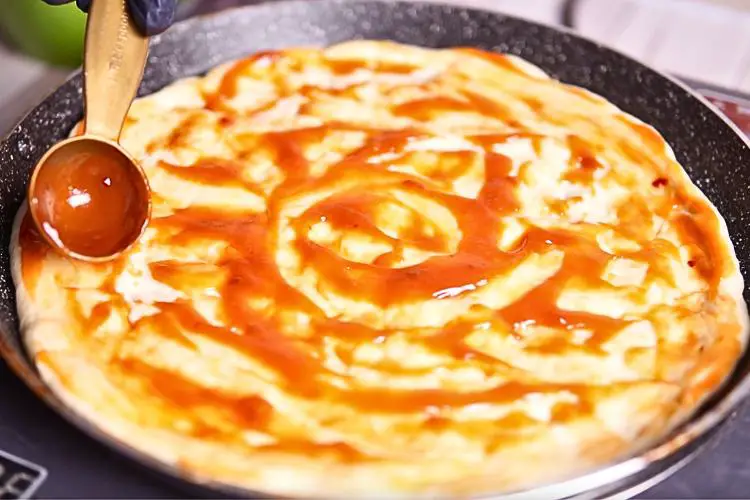
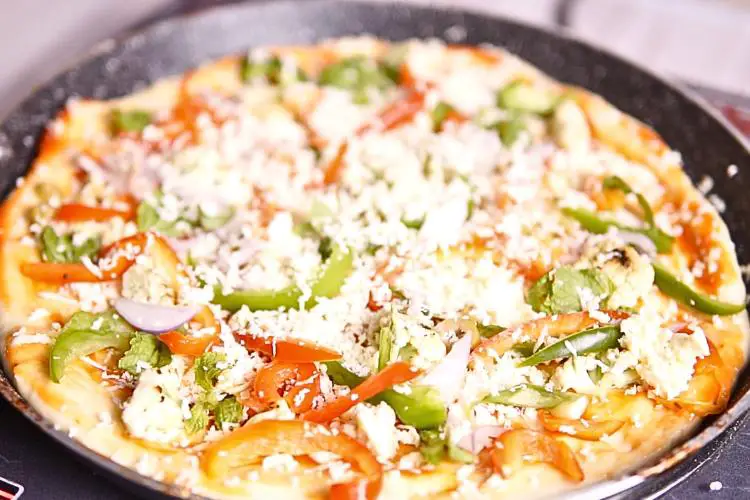
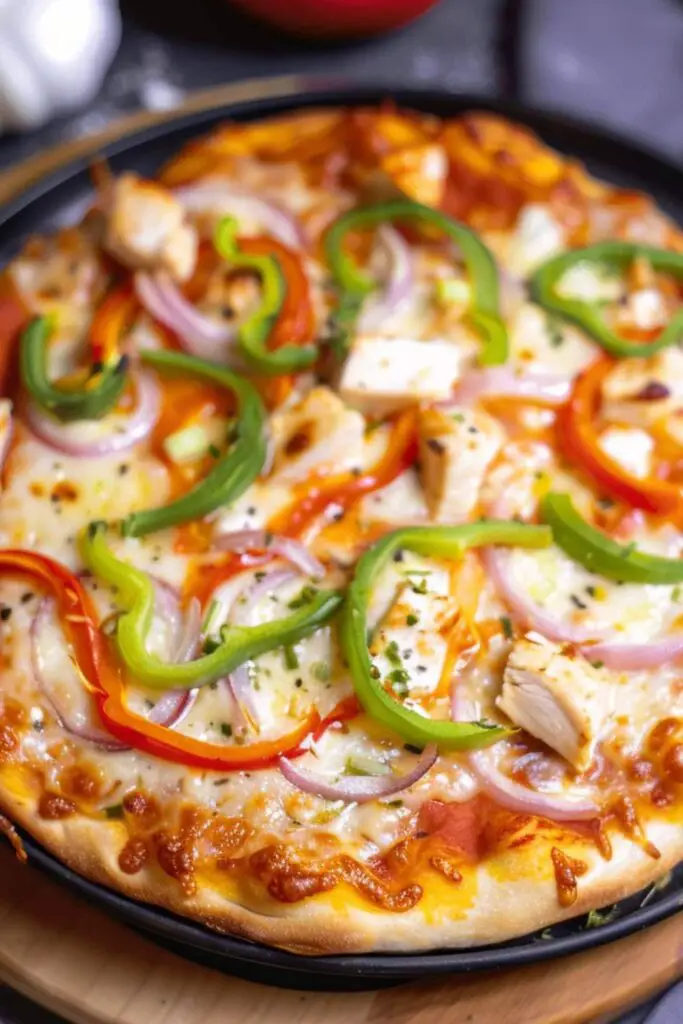
Spread a generous layer of pizza sauce over the dough, leaving a bit of an edge for the crust. Evenly sprinkle the shredded mozzarella cheese, followed by the chicken, bell peppers, onions, and olives. I try to be artistic with my toppings, creating a visually pleasing and tantalizing effect.
Step 6: Bake the Pizza
Slide it into the preheated oven. Bake for 10-15 minutes or until the crust is golden brown and the cheese is bubbly. For that extra crunch, you can bake a couple of minutes longer.
Step 7: Serve and Enjoy
Once done, remove the pizza from the oven carefully. Let it cool for a minute or two before slicing. Serve it hot and watch as everyone’s eyes light up.
Recipe Notes
– Yeast Mixture: Ensure the milk isn’t too hot, or it will kill the yeast. Aim for a temperature slightly warmer than your skin.
– Dough Variations: For a whole wheat option, swap half of the all-purpose flour with whole wheat flour for a healthier twist.
– Pizza Sauce: Use good-quality sauce or make your own with canned tomatoes, garlic, and oregano.
– Fresh Vegetables: Bell peppers not only add color but also a crunch. Onions caramelize slightly during baking, bringing sweetness.
– Olives: These add a briny punch, balancing the richness of the cheese and chicken.
– Chicken: I often use leftover grilled chicken. It’s a great way to reduce waste and add flavor.
Recipe Variations
1. BBQ Chicken Pizza: Swap the pizza sauce with BBQ sauce, and add some red onions and cilantro before baking.
2. Buffalo Chicken Pizza: Mix shredded chicken with buffalo sauce, add blue cheese crumbles, and top with ranch dressing after baking.
3. Vegan Pizza: Replace chicken with tofu, and use vegan cheese.
4. Four Cheese Pizza: Combine mozzarella, parmesan, cheddar, and goat cheese for a cheesy delight.
5. Mexican Pizza: Use salsa instead of pizza sauce, add beans, corn, and jalapenos, and top with avocado after baking.
Frequently Asked Questions
Can I use store-bought dough?
Yes, you can certainly use store-bought dough. It saves time and still yields delicious results. I recommend letting the dough sit at room temperature for about 30 minutes before rolling it out. This makes it easier to work with.
How do I prevent the pizza from sticking to the baking tray?
Using parchment paper or lightly dusting the tray with cornmeal can help prevent sticking. If you’re using a pizza stone, preheating the stone in the oven helps achieve a non-stick surface. Additionally, making sure the dough isn’t too wet is crucial.
What’s the best way to shred chicken for pizza?
I like to boil chicken breasts and then use two forks to pull them apart while they are still warm. You can also use leftover roasted or grilled chicken. Simply shred it using a knife or your hands.
How can I make a gluten-free version of this pizza?
You can substitute the all-purpose flour with a gluten-free flour blend. There are many available that work well for pizza dough. Ensure the yeast you are using is also gluten-free.
Can I freeze the pizza dough?
Absolutely! After the dough rises, punch it down, and divide it into portions. Wrap each portion tightly in plastic wrap and place them in freezer bags. They can be frozen for up to three months. Thaw them in the fridge overnight before using.
How long can leftover pizza be stored?
Leftover pizza can be stored in the refrigerator for up to 3-4 days. Make sure to store it in an airtight container. You can reheat it in the oven at 375°F (190°C) for about 10 minutes or until the cheese bubbles.
Conclusion
Making restaurant-style chicken pizza at home is a delightful experience that goes beyond just eating. It’s about choosing fresh ingredients, enjoying the process, and sharing a meal with loved ones.
With this guide, you’re not just cooking a pizza, you’re creating a cherished memory around the dinner table.
Give it a try, and who knows? You might just become everyone’s favorite pizza chef! Trust me, once you get a slice of that homemade goodness, there’s no turning back.
Happy cooking! 🍕

How to Make Restaurant Style Pizza at Home
Equipment
- 1 bowl
- 1 Pizza Cutter
- 1 baking sheet or fry pan
Ingredients
For Yeast Mixture
- 4 0 z Luke warm milk
- 1/2 tbsp active dry yeast
- 1 tsp brown sugar
For Dough
- 2 cups all purpose flour
- 1 tbsp brown sugar
- 1 tsp salt
- 2 tbsp olive oil
- 1 large egg
For toppings
- 1 cup pizza sauce
- 1 cup mozzarella cheese
- 1 green bell pepper
- 1 red bell pepper
- 5-6 black olives or green olives
- 1 onion sliced
- 1/2 cup chicken shredded
Instructions
Step 1: Prepare The Yeast Mixture
- Prepare the Yeast Mixture
- First things first, let’s start by prepping the yeast. Gently warm the milk, making sure it’s just lukewarm. Combine it with the yeast and brown sugar. Stir well and let it sit for about 5-10 minutes. You’ll notice it becoming frothy – that’s your yeast coming to life.
Step 2: Make The Dough
- Pizza dough making process
- Pizza dough ready after kneading
- In a large mixing bowl, combine the all-purpose flour, brown sugar, and salt. Create a well in the center and add the yeast mixture, olive oil, and the beaten egg. Mix everything until it starts to come together. Transfer the dough to a lightly floured surface and knead it for about 8-10 minutes. You want a smooth, elastic dough.
Step 3: Let The Dough Rise
- Let the Dough Rise
- Place the dough in a lightly oiled bowl, cover it with a damp cloth, and let it rise for around an hour or until it has doubled in size. You might need to punch it down once during this time.
Step 4: Prepare The Toppings
- Prepare the Toppings
- While the dough rests, let’s get those toppings ready. Shred the chicken, slice the bell peppers, onions, and olives. If you haven’t already, grate the mozzarella cheese. I like to use freshly shredded cheese because it melts better and tastes creamier.
Step 5: Assemble The Pizza
- Transfer the dough onto a pizza stone, round fry pan or a suitable baking tray
- Preheat your oven to 475°F (245°C). Roll out the dough on a floured surface to your desired thickness—I aim for a medium crust. Transfer the dough onto a pizza stone, round fry pan or a suitable baking tray.
- Spread a generous layer of pizza sauce over the dough
- Add your favorite toppings
- Spread a generous layer of pizza sauce over the dough, leaving a bit of an edge for the crust. Evenly sprinkle the shredded mozzarella cheese, followed by the chicken, bell peppers, onions, and olives. I try to be artistic with my toppings, creating a visually pleasing and tantalizing effect.
Step 6: Bake The Pizza
- Slide it into the preheated oven. Bake for 10-15 minutes or until the crust is golden brown and the cheese is bubbly. For that extra crunch, you can bake a couple of minutes longer.
Step 7: Serve And Enjoy
- Once done, remove the pizza from the oven carefully. Let it cool for a minute or two before slicing. Serve it hot and watch as everyone’s eyes light up.
- Restaurant Style Pizza At Home
Notes
Video
My name is Lori Walker. I’m a registered dietitian, food blogger and food enthusiast. I share easy healthy, delicious recipes on my blog and review necessary kitchen items. The recipes I share take less… Read more
